Larch Cladding in Scotland
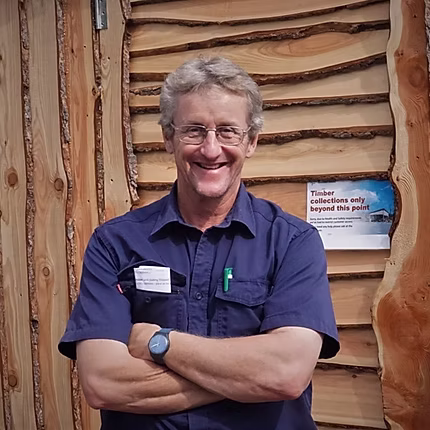
Jim is the founder of Scottish Wood and is still one of the main points of contact for enquiries. If you have any questions left by the end of this guide, then get in touch – chances are Jim will be the one to answer!
‘It’s beautiful, sustainable, non-toxic and it’s easy to install. Naturally durable Larch cladding is the way to go, and it lasts for decades… it’ll see me out for sure!’
Yes, untreated, Scottish grown heartwood larch is a remarkable material.
Its resinous property is what gives it such durability, and that, together with its inherent strength, puts it in demand for all sorts of exterior uses…. Cladding, decking, pergolas, fencing, raised veggie beds… even bridge building!
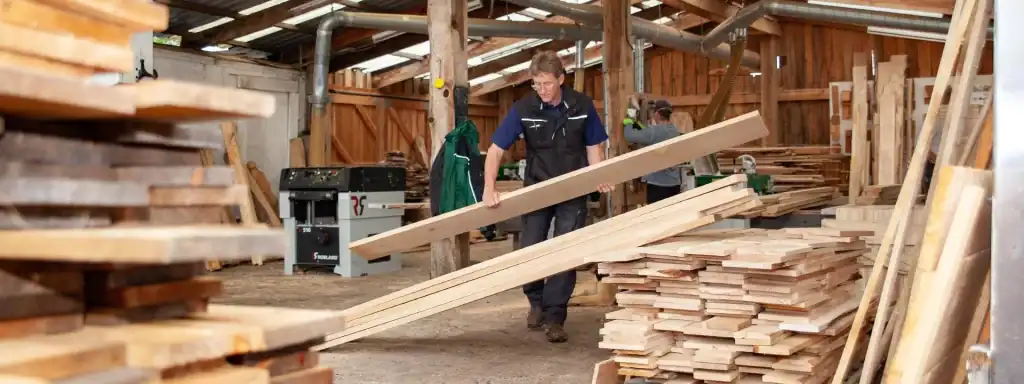
At Scottish Wood we cut up a lot of larch for all these purposes.
For cladding there are different styles:
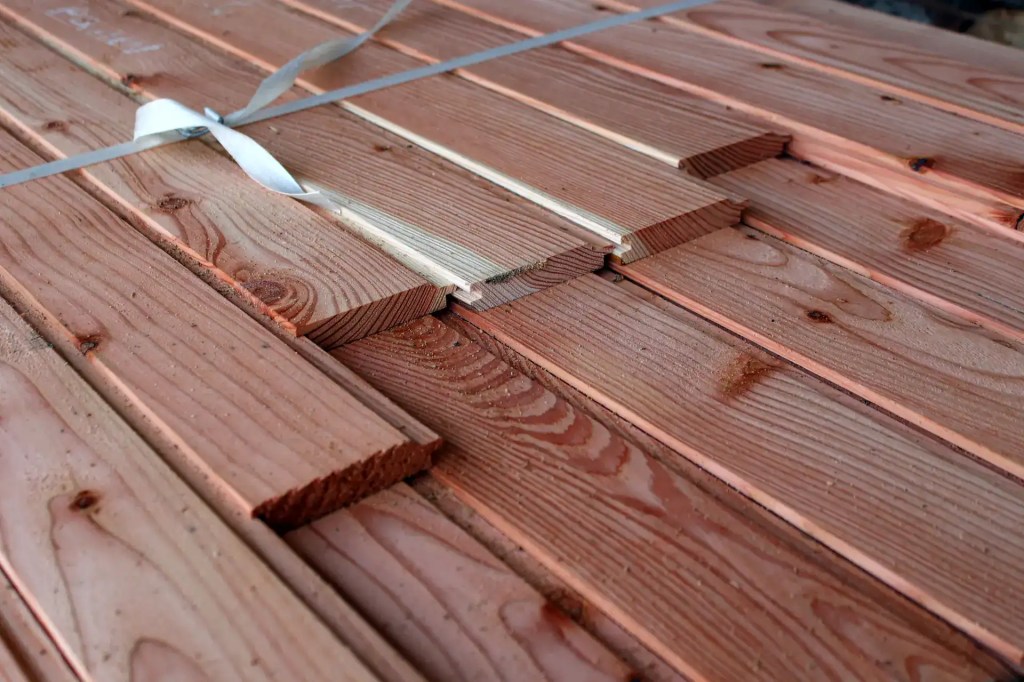
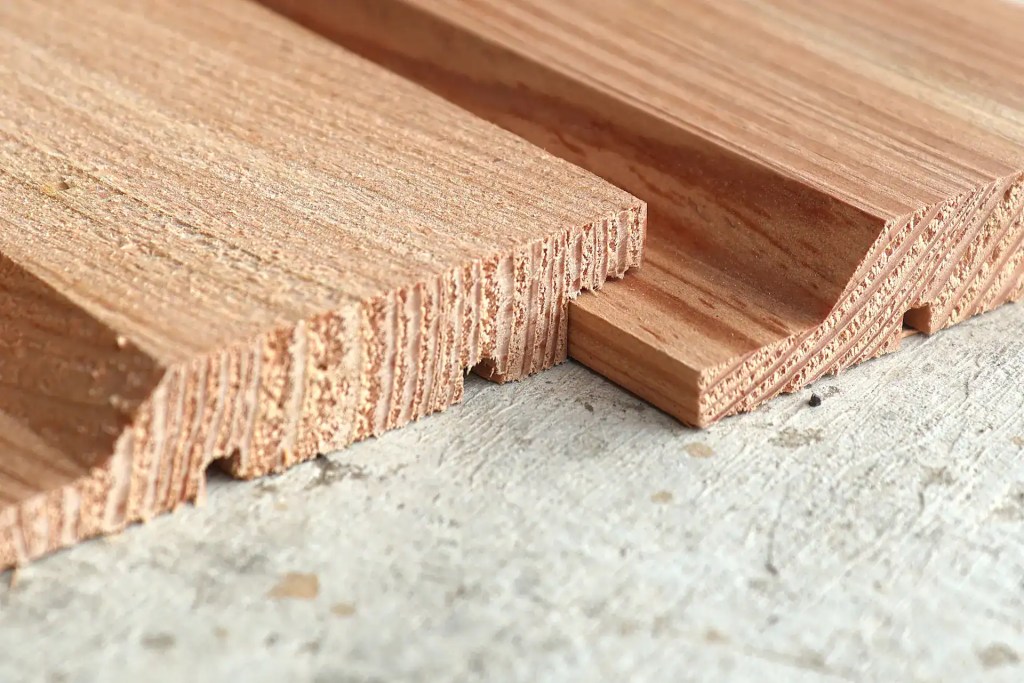
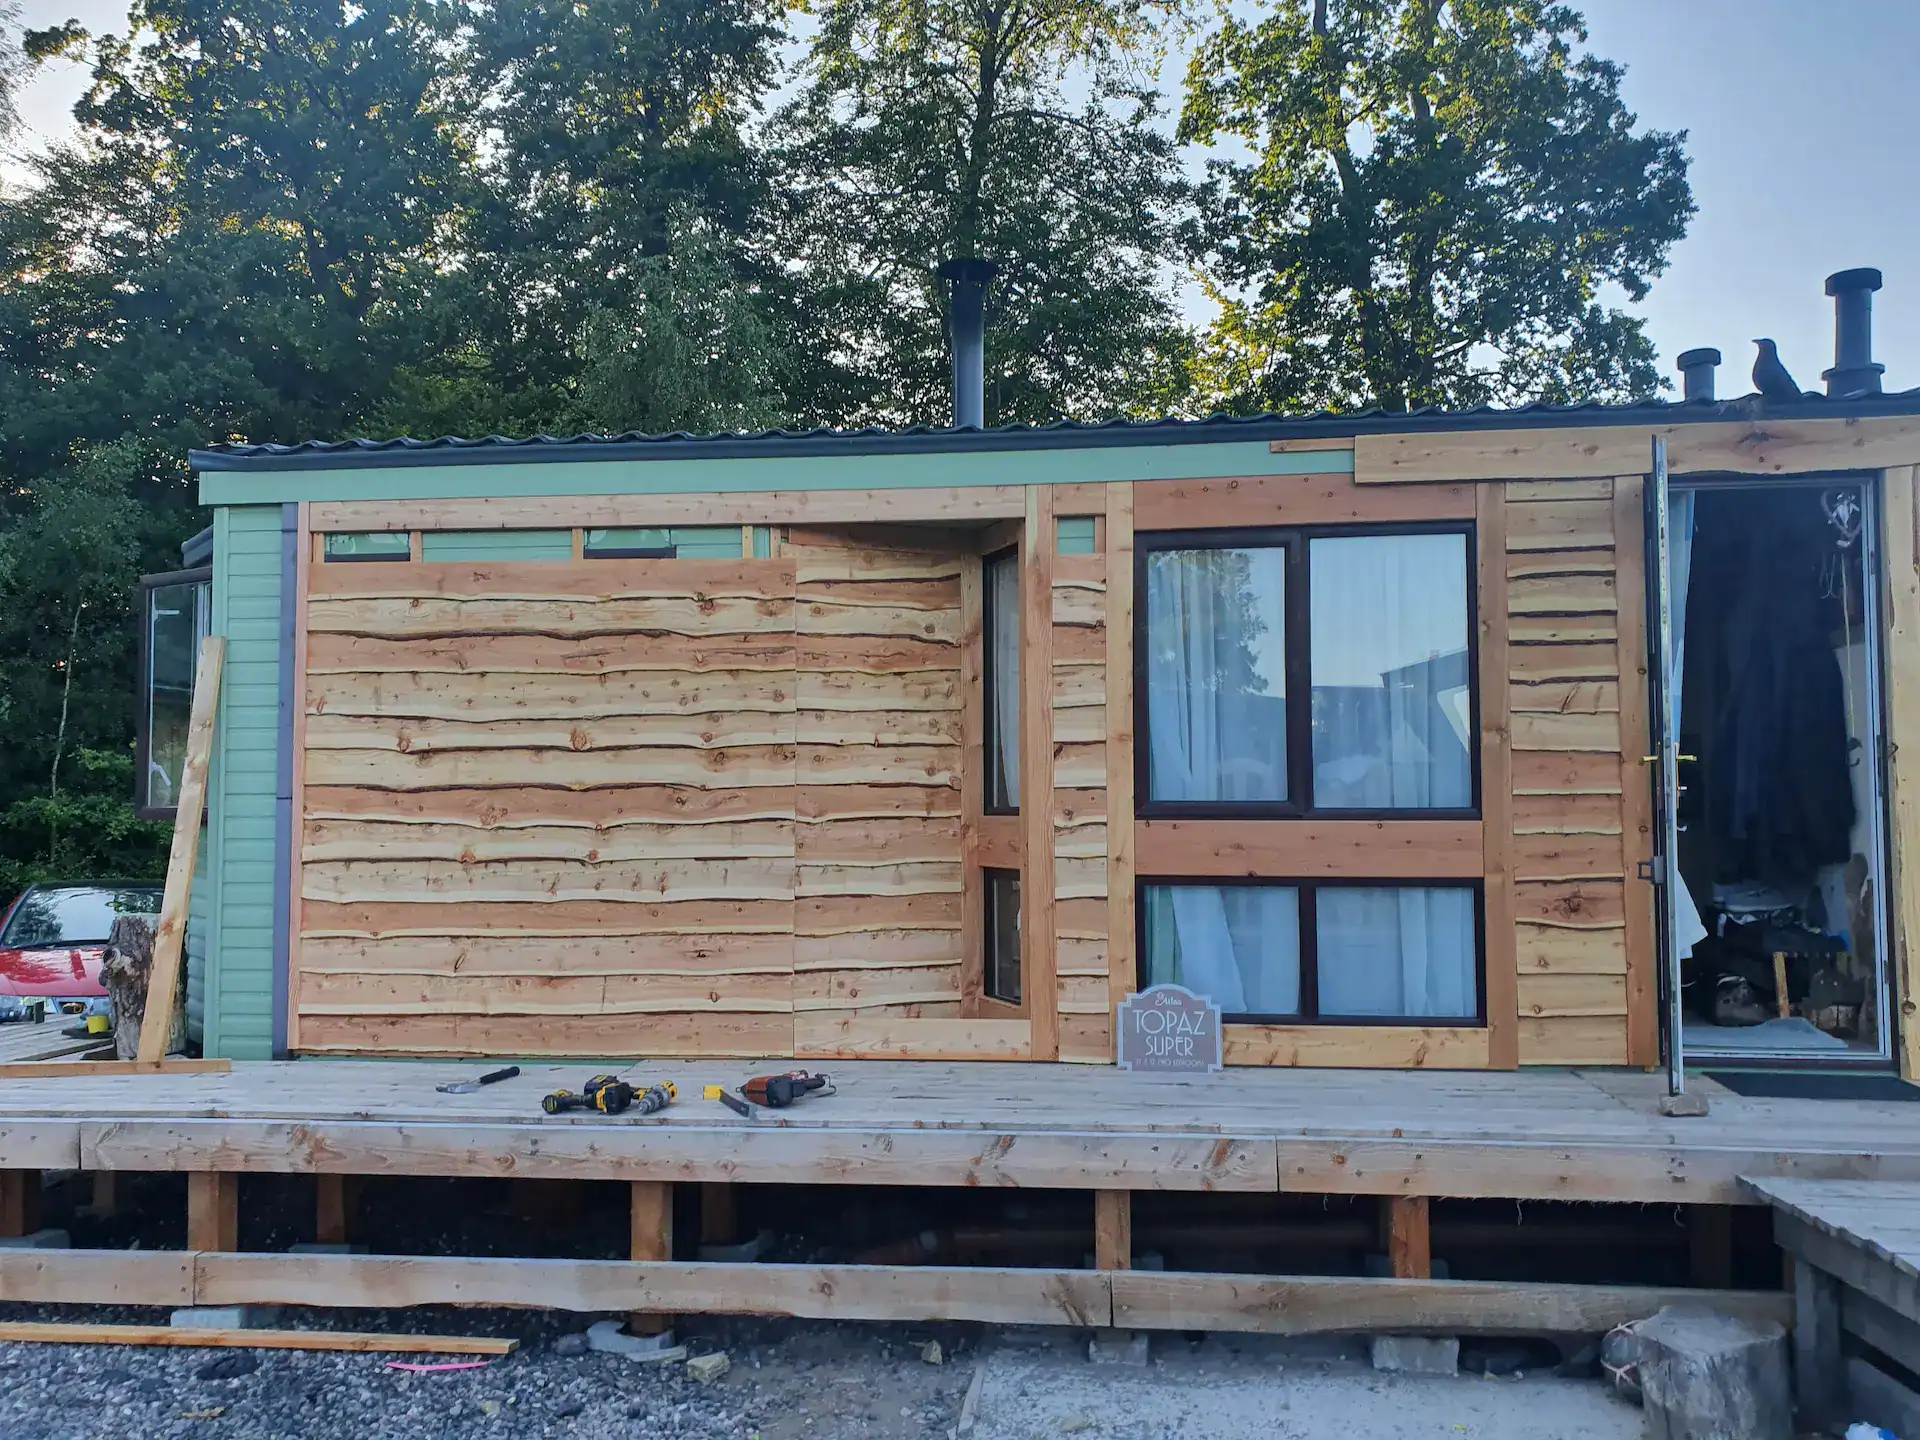
The more traditional board-on-board or batten-on-board has always been popular, and now too is profiled cladding. This means the board has been shaped through a moulder, so they interlock or overlap.
For cladding to achieve its full longevity potential, correct design and installation is important, and if you get this right then Scottish gown Larch cladding can last 100 years or more.
The four D’s is a good place to start: Deflection, Drainage, Drying and Durability:
- Deflection: Designing the building to deflect water away from the cladding, primarily using roof eaves, overhangs, and flashings around windows and doors.
- Drainage: Ensuring that any water that penetrates the outer cladding layer can easily escape. This is achieved by installing cladding over a drained and ventilated cavity (often with battens) to allow water to run down the back of the boards and escape at the bottom. Remember, cladding is not meant to be waterproof, it is simply a rain screen.
- Drying: Designing the system to allow for air circulation behind the cladding (ventilation). This helps evaporate any residual moisture absorbed by the wood or the structural components.
- Durability: Selecting appropriate materials and ensuring proper installation for the specific environment. Larch is naturally durable, but this principle also includes using stainless steel fixings to prevent corrosion and ensuring the timber is detailed correctly to resist rot.
Other things to be aware of when ordering and installing Larch cladding…
Heartwood only: Specify “heartwood” Larch. The sapwood in all timber, including Larch, is non-durable, and it is important for this to have been removed during the sawing process.
Colour change: Almost all Larch cladding is left to weather on the wall as raw timber. This means it will gradually take on a grey or darker hue. If this is not to your taste and you want to preserve a uniform colour, then you are limited to either painting or staining the timber or applying limited treatments (such as Sioo). Timber oil is not the answer… it will look great for a short while, and then look terrible!
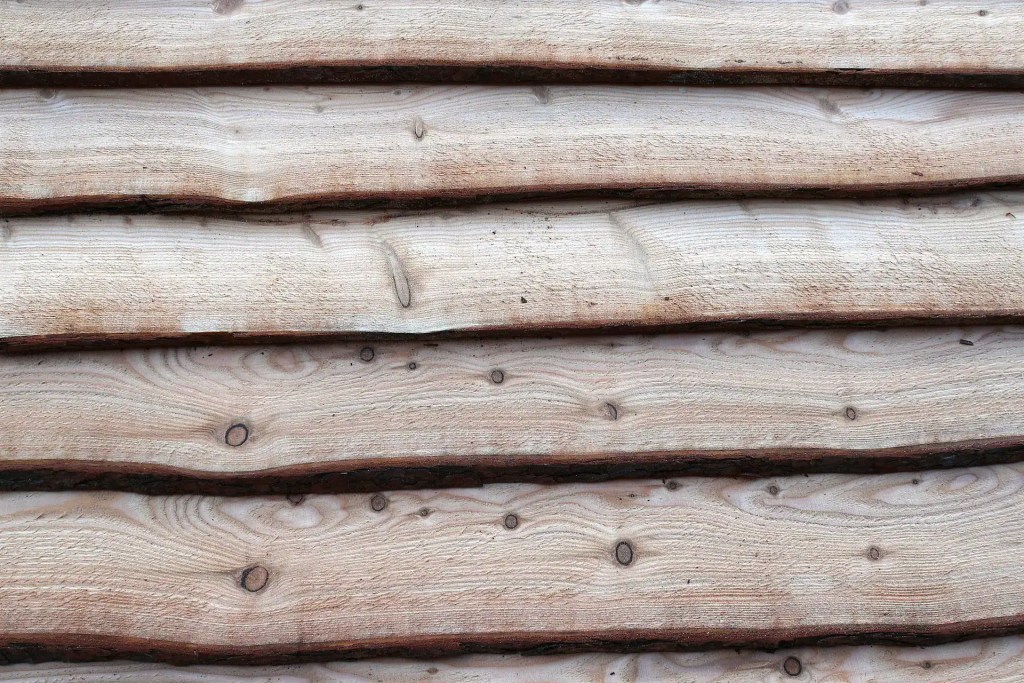
Heart face away form the wall: If you have chosen board-on-board or batten-on-board cladding, make sure the boards are placed so that the “heart face” of the board is facing away from the wall. This will reduce any “cupping” effect on the board (see video link).
Choose the right fixings: Galvanised nails will lead to some staining just below the nail heads. This staining is temporary and will disappear as the timber weathers. But to avoid this you would be better to stick with stainless steel nails or screws.
Get the details right: For details at corners, and around windows and doors there are many options, and careful detail is required to manage moisture and allow for wood movement. The video available below shows a few examples but there are many more to be seen on-line.
Ventilation: In your design, never forget the importance of good ventilation behind the timber cladding, and remember to incorporate an adequate splash zone at the wall base.
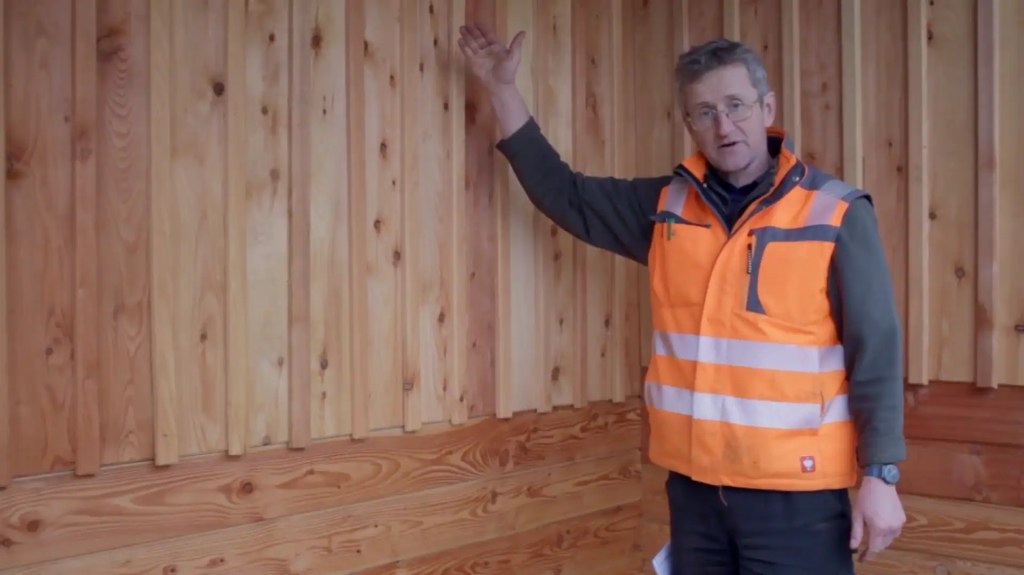
This covers the main points, and the video below will offer more visual support to the points above.
For more in-depth information, Timber Cladding In Scotland, printed by the Scottish Government in 2002, is a great read.
Doing your own timber cladding is a fun, accessible-for-most, and rewarding way to get involved and protect your buildings.
At Scottish Wood we are very happy to give advice for your project.
We very much want to expand and promote the use of high quality and sustainable home-grown timber, but we also want to encourage and enable you to get the tools out and take on all these wood working projects yourselves!
The best of luck!